

Understanding the Making Candles Process: A Journey to Cozy Ambiance
- Debra Wieling
- 1 day ago
- 4 min read

There is something truly magical about lighting a candle. The soft glow, the gentle flicker, and the subtle fragrance all come together to create a moment of calm and comfort. Over the years, I have found that making candles myself adds a whole new layer of appreciation for these little sources of warmth. Today, I want to take you on a friendly, step-by-step journey through the making candles process. Whether you’re curious about crafting your own or just want to understand what goes into those beautiful jars, this guide will light the way.
The Basics of the Making Candles Process
Starting with the basics is always a good idea. Candle making might seem complicated at first, but it’s really about combining a few simple ingredients with care and patience. The main components you’ll need are wax, a wick, fragrance oils, and a container or mold.
Wax: This is the body of your candle. Common types include soy wax, beeswax, and paraffin. I personally love soy wax because it burns cleanly and is eco-friendly.
Wick: The wick is the heart of the candle. It draws the melted wax up to fuel the flame. Choosing the right wick size is crucial for a steady burn.
Fragrance oils: These add personality to your candle. From lavender to sandalwood, the scent you pick can transform a room.
Container or mold: This holds your candle. Glass jars, tins, or silicone molds are popular choices.
Once you have your supplies, the process is about melting, mixing, pouring, and waiting. It’s a simple rhythm that feels almost meditative.

Step-by-Step Guide to Making Your Own Candles
Let me walk you through the steps I follow every time I make a candle. It’s a process that invites you to slow down and enjoy each moment.
Prepare your workspace: Cover your surface with newspaper or a silicone mat. Have all your materials ready.
Measure and melt the wax: Use a double boiler or a dedicated wax melter. Heat the wax slowly until it’s fully melted.
Add fragrance oils: Once the wax reaches about 185°F, stir in your fragrance oils. The amount depends on the wax type, but a good rule is about 6-10% of the wax weight.
Attach the wick: Secure the wick to the bottom of your container using a wick sticker or a dab of hot glue.
Pour the wax: Let the wax cool slightly to around 135°F before pouring. This helps prevent cracking and sinking.
Secure the wick: Use a wick holder or pencil to keep the wick centered while the wax hardens.
Let it cure: Allow your candle to set for at least 24 hours before trimming the wick and lighting it.
This process is where the magic happens. Each step requires a little patience, but the reward is a beautiful, handcrafted candle that fills your space with warmth.
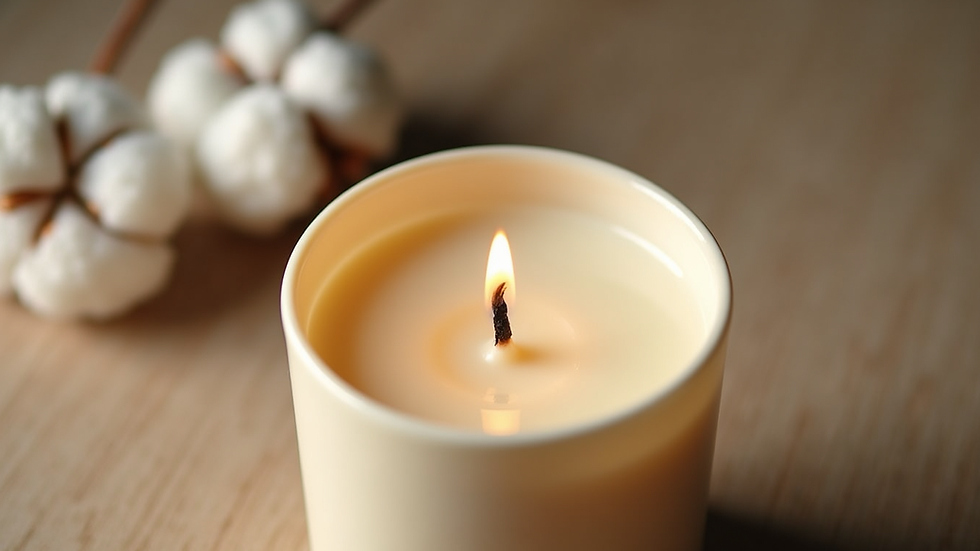
What is the 8:10 Rule for Candles?
You might have heard about the 8:10 rule when it comes to candle making. It’s a handy guideline that helps ensure your candle burns safely and efficiently.
The rule states that the wick length should be about 8 to 10 millimeters above the wax surface when the candle is lit. Why does this matter? If the wick is too long, the flame will be too large, causing excessive smoke and soot. Too short, and the candle might struggle to stay lit or burn unevenly.
When I first started, I didn’t pay much attention to this, and my candles would sometimes flicker wildly or produce black smoke. Adjusting the wick length made a huge difference in how cleanly and beautifully my candles burned.
Choosing the Right Fragrance and Wax for Your Mood
One of the most delightful parts of candle making is selecting scents that speak to you. I often think of fragrance as a form of self-care. Whether you want to relax after a long day or energize your morning, the right scent can set the tone.
Lavender and chamomile: Perfect for winding down and promoting restful sleep.
Citrus and eucalyptus: Great for refreshing your space and boosting focus.
Vanilla and cinnamon: Cozy and comforting, ideal for chilly evenings.
Pairing your fragrance with the right wax is also important. Soy wax holds scent well and burns slowly, making it a favorite for scented candles. Beeswax has a natural honey scent and burns longer but is less receptive to added fragrances.
Experimenting with different combinations is part of the fun. I recommend starting small and keeping notes on what works best for you.

Tips for Perfecting Your Candle Making Skills
Like any craft, candle making improves with practice. Here are some tips I’ve picked up along the way that might help you avoid common pitfalls:
Use a thermometer: Temperature control is key. Melting and pouring at the right temperatures prevents imperfections.
Stir gently but thoroughly: When adding fragrance oils, mix well but avoid creating bubbles.
Trim your wick: Before each burn, trim the wick to about 1/4 inch to maintain a clean flame.
Cure your candles: Let your candles rest for a few days after making. This allows the fragrance to fully develop.
Test burn: Always light a test candle to see how it performs. This helps you adjust wick size or fragrance load for future batches.
These small details make a big difference in the quality and enjoyment of your candles.
Bringing It All Together: Your Personal Candle Experience
Making candles is more than just a craft - it’s a way to create moments of peace and joy in your daily life. I love how the process invites me to slow down, focus on simple tasks, and end up with something beautiful and useful.
If you want to dive deeper into the candle making process, I encourage you to gather your materials and give it a try. You might find that the act of making your own candles becomes a cherished ritual, a form of self-care that brightens your home and your spirit.
Remember, every candle you make is a little piece of warmth you’ve crafted with your own hands. Enjoy the journey and the glow it brings!
Thank you for joining me on this cozy exploration of candle making. May your days be filled with light, fragrance, and calm.


Comments